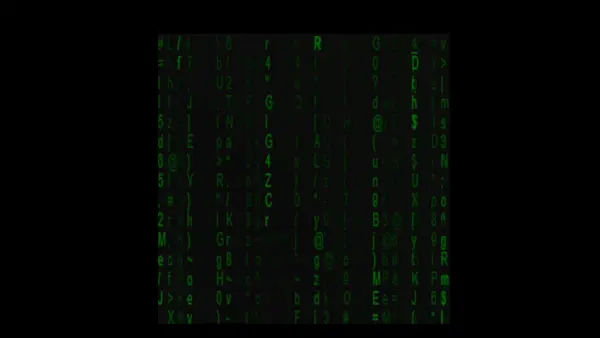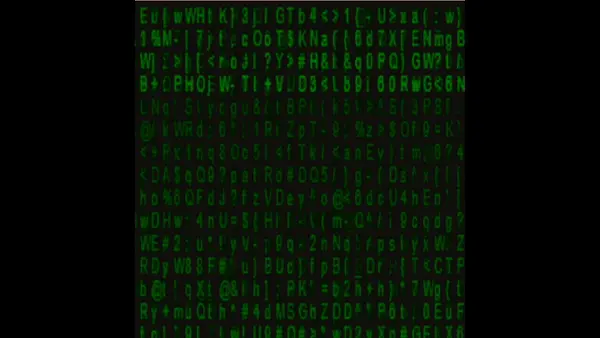
Matrix Animation
Do you ever wonder how can you add the matrix animation to your website. I do, so i create it.
To recreate this you need a Canvas tag inside your HTML, few lines of CSS to style it as you want and few lines of JavaScript
why canvas ?
First of all you might have this question in your mind - “Why canvas tag ? can’t I do that without casvas tag ?”
Yes, you can do this without using canvas tag. But the canvas make it easy to do.
Let’s create it
First add a canvas tag in your html and then add some styling to it like height, width etc.
<style>
	#canvas {
		width: 200px;
		height: 200px;
		/* more sytling if you want */
	}
</style>
<canvas id="canvas"></canvas>
And all the work is done for HTML & CSS. From here JS will do everything.
Let’s write some js
To make this easy to understand let’s break it in few segments.
- First, we get a reference to the canvas element and its 2D context, which we’ll use to draw on the canvas:
const canvas = document.getElementById("canvas");
const ctx = canvas.getContext("2d");
In first line, we are selecting the canvas element. You can do this as you want, we can use document.querySelector() or we can use other library JQuery to this. You just have to select the element and create 2d context of it so you can edit it.
- Next, we define some variables that will be used in the animation. The
fontSizevariable determines the size of the characters that will be drawn on the canvas. Thecolumnsvariable calculates the number of columns that can fit on the canvas based on its width and the font size. Thedropsarray will keep track of the y-coordinate of each column:
const fontSize = 10;
const columns = canvas.width / fontSize;
const drops = new Array(columns).fill(1);
Since all the columns will be at the very top while the animation starts so fill it with 1 which will denote first row of each column.
- Now create a function where the magic happens. I named it
drawyou can name it anything you want. This function will be called repeatedly to update the animation on the canvas. First, we set the fill style of the context to a semi-transparent black color and fill the entire canvas with it. This creates a fading effect for the characters as they fall down the canvas:
function draw() {
	ctx.fillStyle = "rgba(0, 0, 0, 0.05)";
	ctx.fillRect(0, 0, canvas.width, canvas.height);
}- Next, we set the fill style to green and the font to an Arial font with a size determined by the
fontSizevariable. This green fill style will be the color of the text. You can create another variable atstep 2where you can store the color of the text so that you can change it easily on run time. Also the font Arial to your favourite font family.
ctx.fillStyle = "#0f0";
ctx.font = fontSize + "px arial";- We then loop through each column and draw a random character at its current position. The character is chosen by generating a random number between 33 and 126 (the ASCII codes for printable characters) and converting it to a string using the
String.fromCharCodemethod:
for (let i = 0; i < drops.length; i++) {
	const text = String.fromCharCode(Math.floor(Math.random() * 94 + 33));
	ctx.fillText(text, i * fontSize, drops[i] * fontSize);
	/* arguments of ctx.fillText()*/
	/* ctx.fillText(textToAdd, xPositonOfTheText, yPositionOfTheText) */
}
In this for loop variable i stores the index of current column.
Therefore xPositionOfTheText = current column index (or i) x fontSize.
Simirally yPositionOfTheText = current row index of current column (or drop[i]) x fontSize.
- After drawing the character, we check if it has reached the bottom of the canvas. If it has, and if a random number is greater than 0.975, we reset its position to 0 so that it starts falling from the top again:
if (drops[i] * fontSize > canvas.height && Math.random() > 0.975) {
	drops[i] = 0;
}
Why the random number ?
So that all the columns have different row index, otherwise all columns are starting together and they will go on forever together. And a reminder - this if block will be inside the for loop
If you don’t add that random number check then it will be this

- Finally, we increment the y-coordinate of each column so that the characters move down by one row on each iteration:
drops[i]++;This increment is also inside the for loop.
- To start the animation, we use the
setIntervalfunction to call thedrawfunction every 33 milliseconds:
setInterval(draw, 33);One thing I should clearify from step 4 to step 7 all the code blocks are inside the draw function
The End
This animation is not only limited to matrix animation. You can replace that random text by 💧emoji to create rain effect. And much more can be done.
And, here is the full code
<canvas id="canvas"> </canvas>

<script>
	const canvas = document.getElementById("canvas");
	const ctx = canvas.getContext("2d");

	const fontSize = 10;
	const columns = canvas.width / fontSize;
	const drops = new Array(columns).fill(1);
	function draw() {
		ctx.fillStyle = "rgba(0, 0, 0, 0.05)";
		ctx.fillRect(0, 0, canvas.width, canvas.height);
		ctx.fillStyle = "#00f00077";
		ctx.font = fontSize + "px arial";

		for (let i = 0; i < drops.length; i++) {
			const text = String.fromCharCode(Math.floor(Math.random() * 94 + 33));
			ctx.fillText(text, i * fontSize, drops[i] * fontSize);

			if (drops[i] * fontSize > canvas.height && Math.random() > 0.975) {
				drops[i] = 0;
			}

			drops[i]++;
		}
	}

	setInterval(draw, 33);
</script>

<style>
	#canvas {
		width: 100%;
		height: 100%;
	}
</style>